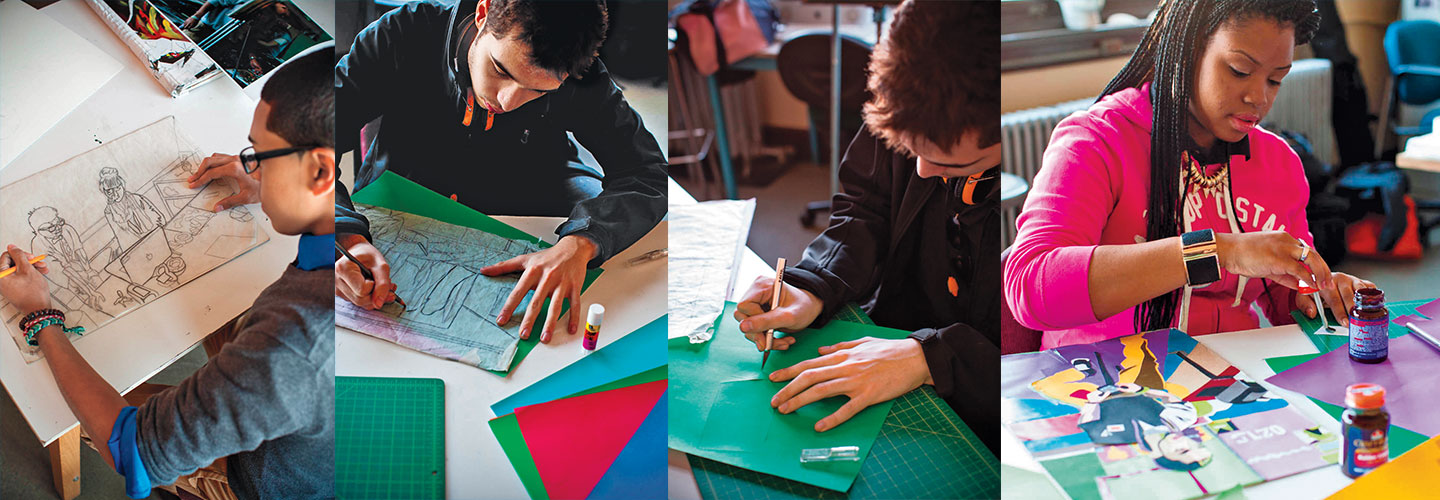
You’ve seen how artists during the Harlem Renaissance stylized the figure. Now it’s your turn to develop a simplified portrait of a friend using collage.

Trace your photograph. Then trace the contour lines on the back of the page. Slide colored paper under your tracing paper. Trace the contour lines of a shape, transfering it onto the paper. Carefully cut out the shape with an X-acto knife. Glue each shape onto your illustration board. Remove the tracing paper to reveal your completed composition.
Collage a Stylized Figure
Learn how to layer cut paper to make a colorful composition
STEP 1: Create Your Composition
How did the students who created this portrait use color to create highlights and shadows?
Photograph a friend at school. He or she might be reading, painting, or working
at a computer. Ask your model to pose naturally, not looking directly at the camera. Let the sun coming through a window be a natural light source for your composition. It will create strong highlights and shadows across the scene. Take 10 photos then print out your favorite in black-and-white on 13" x 19" paper.
TIP: Avoid photographing the sun directly because the image will likely be under- or overexposed.
STEP 2: Transfer Your Drawing
Tape a sheet of 13" x 19" tracing paper on top of your photo. Use a pencil to trace a contour drawing of the photo, outlining the shapes that define the composition. Trace areas where the light, shadows, and colors are varied. When finished, remove the photo. Use a kneaded eraser to clean up the edges. Your drawing should be made of clear, distinct lines and shapes. Turn your tracing paper over and trace the lines on the back, so the image appears on both sides.
TIP: Keep your drawing simple.
STEP 3: Make Your Collage
Glue a solid sheet of 13" x 19" paper to an illustration board. This is your background. Use masking tape to attach the top edge of your tracing paper to the illustration board. Slide a sheet of colored paper under the tracing paper. Trace the lines of a shape that appears in the background of your drawing, transferring the lines onto the colored paper. Remove the paper, then cut out the shape with an X-acto knife. Using your tracing paper as a guide, glue the cutout shape to the right spot on your illustration board. Repeat this process with different colors for each shape, working from the background to the foreground until the composition is complete. Remove the masking tape and tracing paper.
TIP: Experiment with color, but use your photograph as a value guide.
